Ce tutoriel est disponible en français ici >> Le H.D.R.
Want to make beautiful pictures? Have a look at this quick and easy HDR tutorial and enjoy the possibilities of the High Dynamic Range technique.
What is it ? Is it something to eat ?
Not really. HDR means « High Dynamic Range ». It is a digital photograph technique a bit particular. The sensor of a digital camera isn’t able to manage the luminosity the same way our eyes do. Our eyes sweep the scene briefly and allow us to make out what is dark and what is bright. The camera freezes a specific moment with the prevailing luminosity. The HDR permits to gather the better of these two worlds.
And how do we do ?
It’s easier than what we could imagine. If the eye sweeps the scene and if the brain superimposes the images, why couldn’t we try to do the same with a camera and a computer ?
- To begin, if we use a reflex camera, we need to use the Manual program, or the “Aperture” program. Each brand names their programs in a different way, so it’s up to you to find out the one corresponding to these one !
- Second step: adjust the ISO sensitivity on the minimum, usually 100 ISO. Then, the real work starts. We have to go on the menu and look for the «bracketing» program, adjust it on the “exposure bracketing” program, and configure it with the luminosity margin, between 1 and 2 IL (be careful to adjust the luminosity and not the whites balance! ). Now, you have configure three shots : one “normal”, one overexposed and one underexposed.
Then, you just have to take the photo : ) The camera will take three photos. One will be normal, another one will be dark (underexposed) and the last one will be bright (overexposed).
Now, we need to put these pictures on the computer.
Once the photos transferred on the computer, you will need a specific software like Photomatix, available from 30€ (to 70€ for the higher version).
Once Photomatix installed, open it and click on “Charger les photos bracketées”. Enter and access to the controls’ window, where you can have an insight of your photo. Depending on the weight of your photo and the setup of your computer, the software might be slow. It’s normal. Once your picture reaches the rendering that you were looking for, click on “traiter” on the left window, under the adjustment cursors. Make the last adjustements in the “touche finale” window, and save your picture.
Tricks and advices:
- As long as you take your photos during the day, with a good luminosity, the superimposition of your photos will be made without any problem. However, for dark places or during the night, you will need a support (tripod, low wall, your girlfriend/boyfriend…).
- Once the montage made, if you see multicolor dots on your photo (most of the time in the dark parts), it is what we call Noise. To avoid this, don’t forget to adjust your ISO on 100 (or at least on 400, which is the minimum).
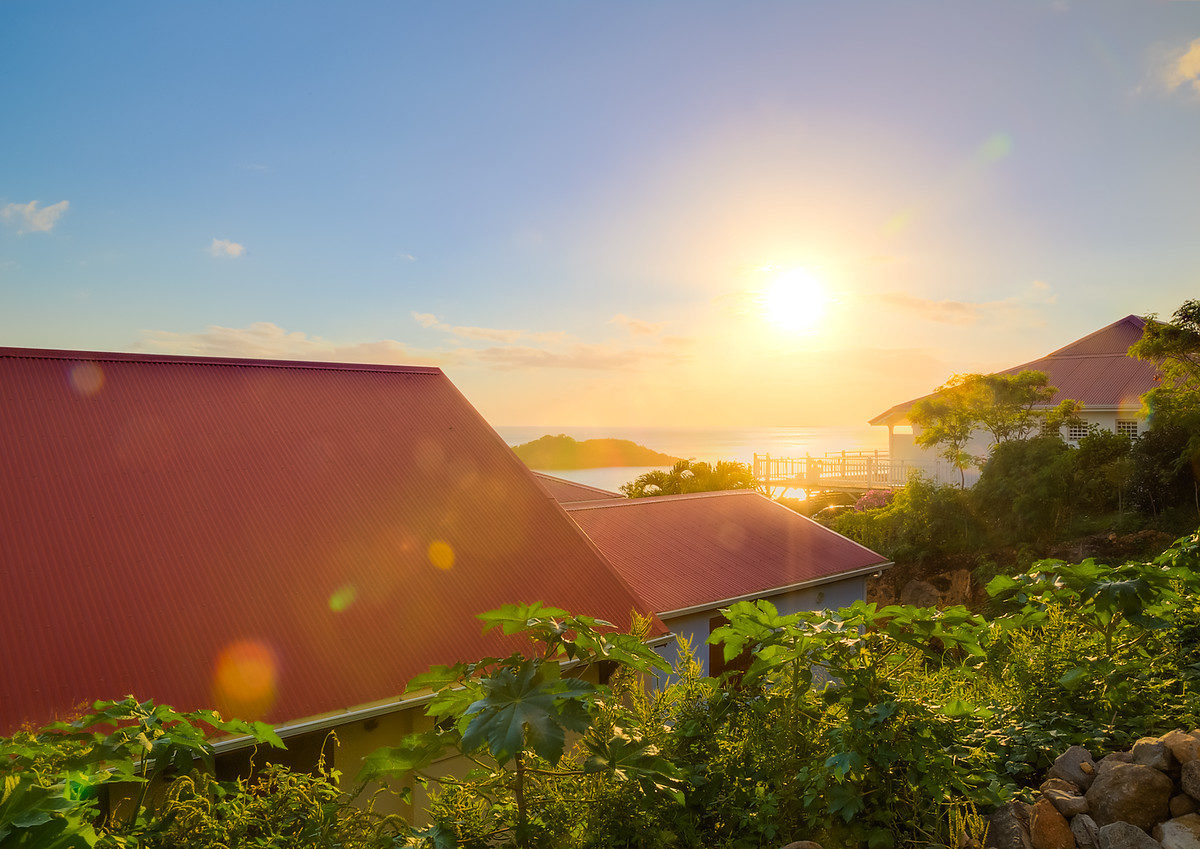
- while taking your first photos in HDR, try to have as many element to help you as possible : a well illuminated place (preferably a building with colors) and a cloudless sky.
There we are ! We hope this article will help you (or convince you) taking HDR photos. If you have any questions, don’t hesitate asking them 🙂